


Description
Staff ID Badges OK is very user-friendly software that allows you to create a database of employees, partners, members of associations or workers of any kind, print their ID badges complete with photos acquired through a webcam or digital camera and, finally, keep track of the services provided by each staff member. Moreover, a special app allows you to export the staff database to a Microsoft Excel file, so that you can share the data with people who do not have Staff ID Badges OK installed on their computers.
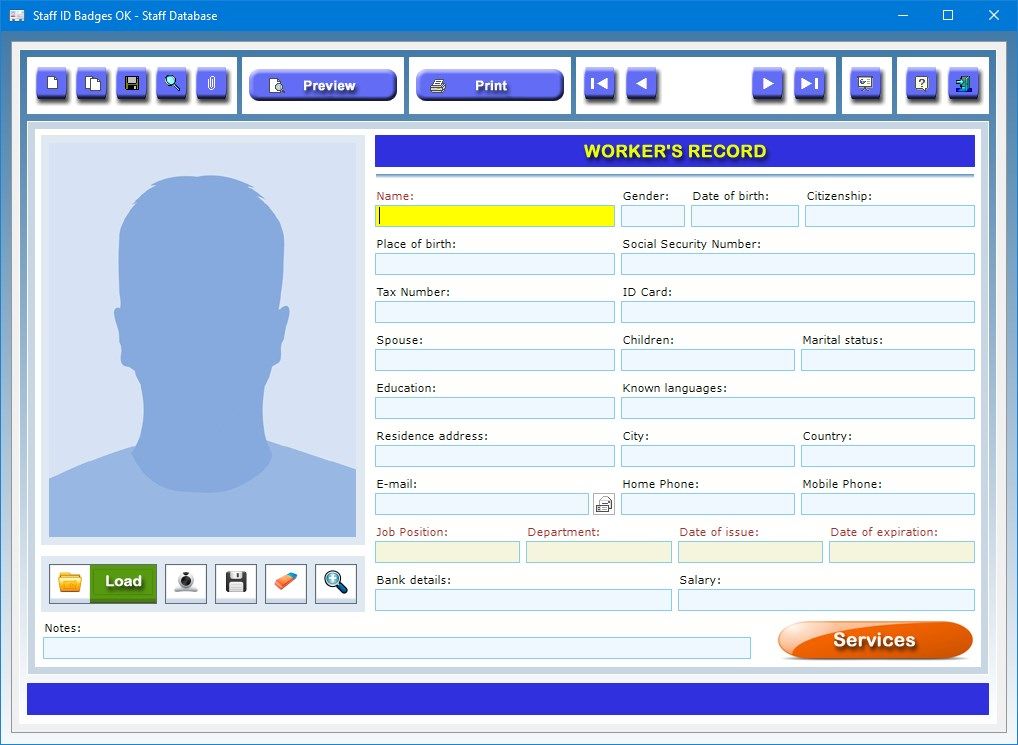
The Staff Database app allows you to store your workers’ data in detail, indicating, of each one, the name, gender, date and place of birth, citizenship, Social Security Number, Tax Number, details of the ID Card, spouse’s name, children, marital status, educational qualifications, known languages, residence address, city, country, e-mail address, home and mobile phone numbers, job position, department, ID badge date of issue and date of expiration, bank details, salary, any additional notes and a photo. The photo and some of the worker’s data will be imported into the app for printing ID badges. The text fields with the data that will appear on the ID badge are easily recognizable as they are colored in beige.
To enter a record in the database, click on the New button, fill in the relevant text fields, upload a photo of the worker and press the Save button. Remember that the text fields concerning the worker’s name, job position, department, ID badge date of issue and date of expiration are mandatory since they will be printed on the ID badge. To update an existing record, you must open it using the record scroll arrows or the search function, make the desired changes and press Save. The Duplicate button is useful if you need to save two or more records with very similar data because they refer, for example, to workers with the same background. To duplicate a record, just open the one already stored in the database, click on the Duplicate button, enter the new data and press Save.
The Load button allows you to insert the worker’s photo in Jpeg or Bitmap format in the record. This picture is automatically scaled to fit the size of the preview box. It is however possible to view the photo in full screen by clicking on the zoom icon. The image visible in the box can be saved to disk or deleted at any time using the appropriate buttons.
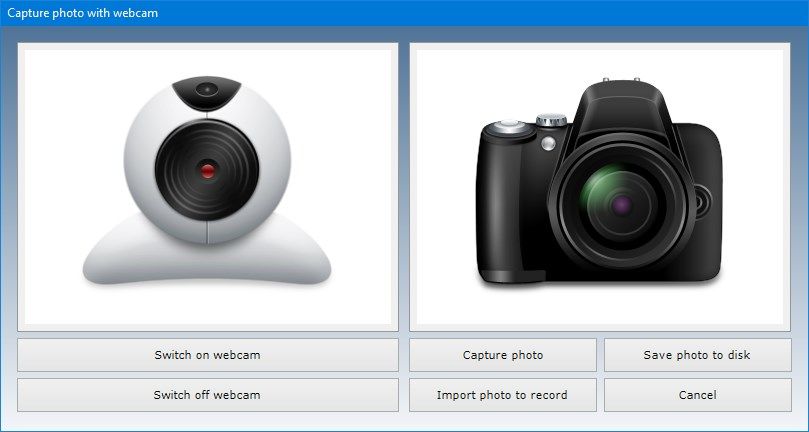
To insert a photo of the employee, you can capture the image with your own webcam, which can be activated via the Capture photo button. Once the photo capture window is open, you need to press the Switch on webcam button, have the employee stand in front of the webcam lens and take a picture of him or her by pressing the Capture photo button. At this point, you can import the photo into the record using the Import photo to record button. Finally, you need to save the worker’s record by clicking the Save button.
If you prefer, instead of photographing the employee with a webcam, you can take a picture of him or her in Jpeg format with a digital camera and import it into the record using the Load button.
By using the Attach Files button, you can attach documents of any kind to the record of each staff member (for example, a copy of their employment contract or ID Card).
The Slide Show button shows in sequence, at six-second intervals and in full screen, all the photos of the workers in the database. Once the last photo in the database has been viewed, the slide show starts from the beginning. To exit slide show mode, simply click anywhere on the screen.
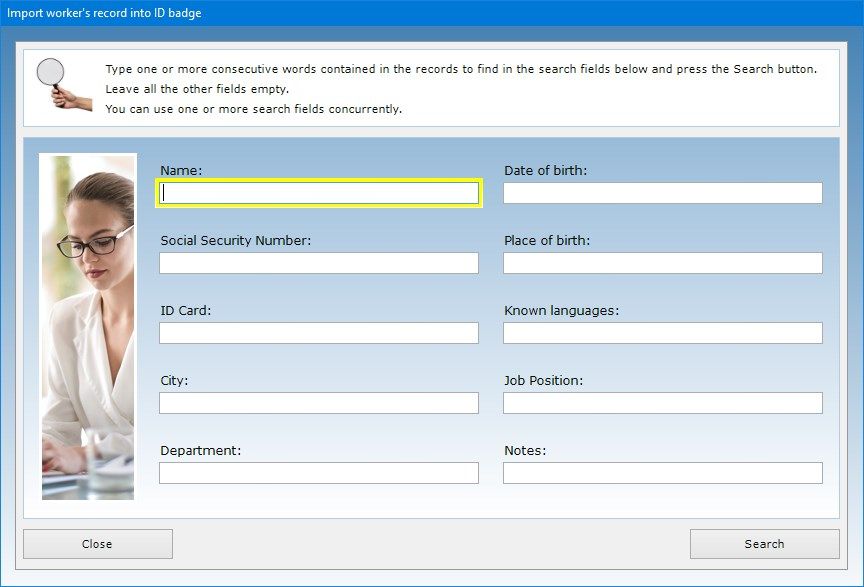
The software allows you to carry out advanced searches in the database even using a partial search key, that is, indicating one or more consecutive words contained in any text field. For each search you can refer to one or more fields at the same time. For example, it is possible to obtain a list of all the workers in the database who can speak a certain foreign language or of those who fill a specific job position or are employed in the same department.
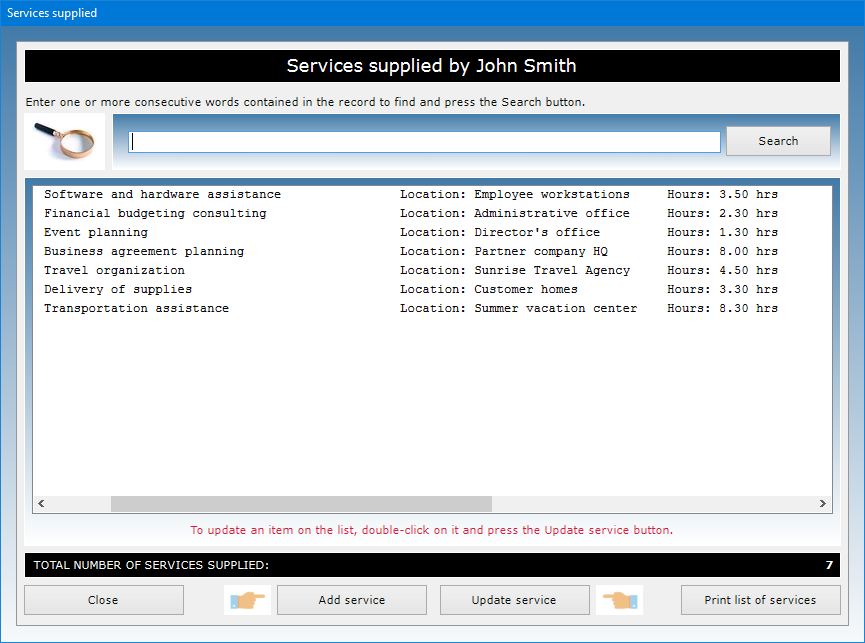
After saving the record, pressing the Services button gives you access to a window where you can list and print all the services provided by the worker to the business. To add a service to the list, just press the Add service button, fill in the text fields in the window that appears, press Save and then Close. For each service you must indicate the date on which it was provided, a description of the work done, the location where it was performed, the number of hours worked and the fee received by the worker.
To edit a service already present in the database, you need to select it from the list with a click, press the Update service button, make the desired corrections, additions or deletions in the text fields, press Save and then Close. At the bottom of the list is the total number of services supplied by the worker.
The individual records of the staff members accompanied by their photos can be previewed or printed on paper.
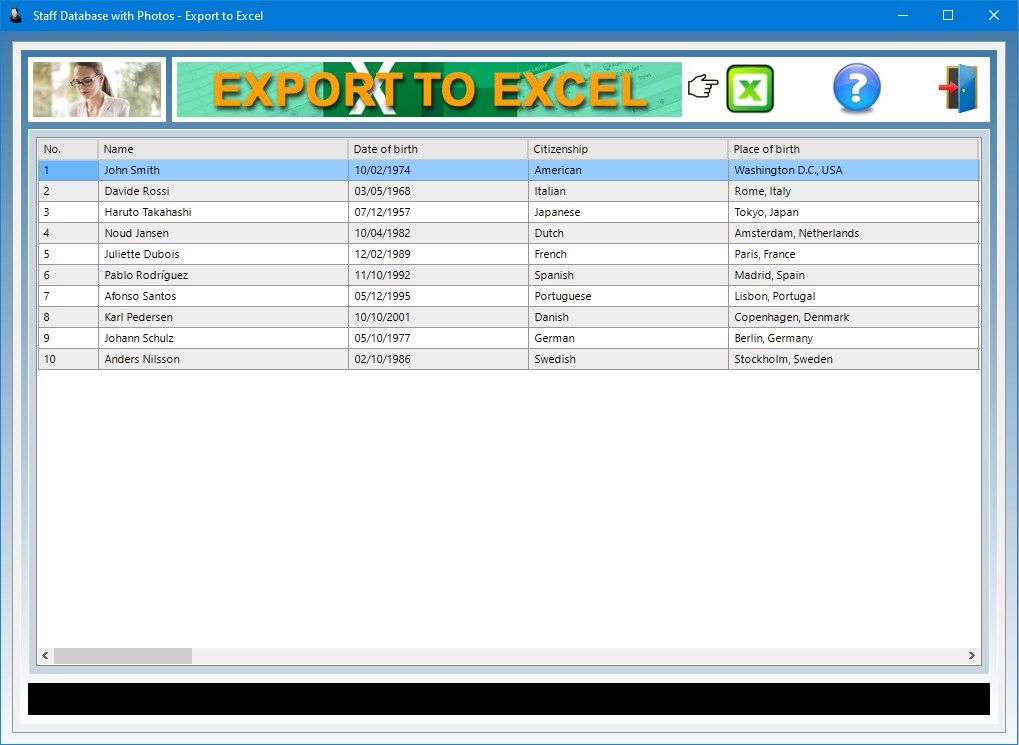
The Export to Excel app allows you to export the textual data present in the staff database into a Microsoft Excel worksheet, which can be opened with any software capable of managing files in XLS format (for example, with Open Office, Libre Office or Microsoft Office). This function allows you to share the staff data with your admin or personnel office, or anyone else who does not have Staff ID Badges on his or her PC.
After opening the window containing the data grid, click on the Excel icon. This operation creates in real time a file in XLS format containing the records in the database, which can be opened immediately by answering affirmatively to the question message that appears. At this point, you can save the file to your hard disk and name it as you wish.
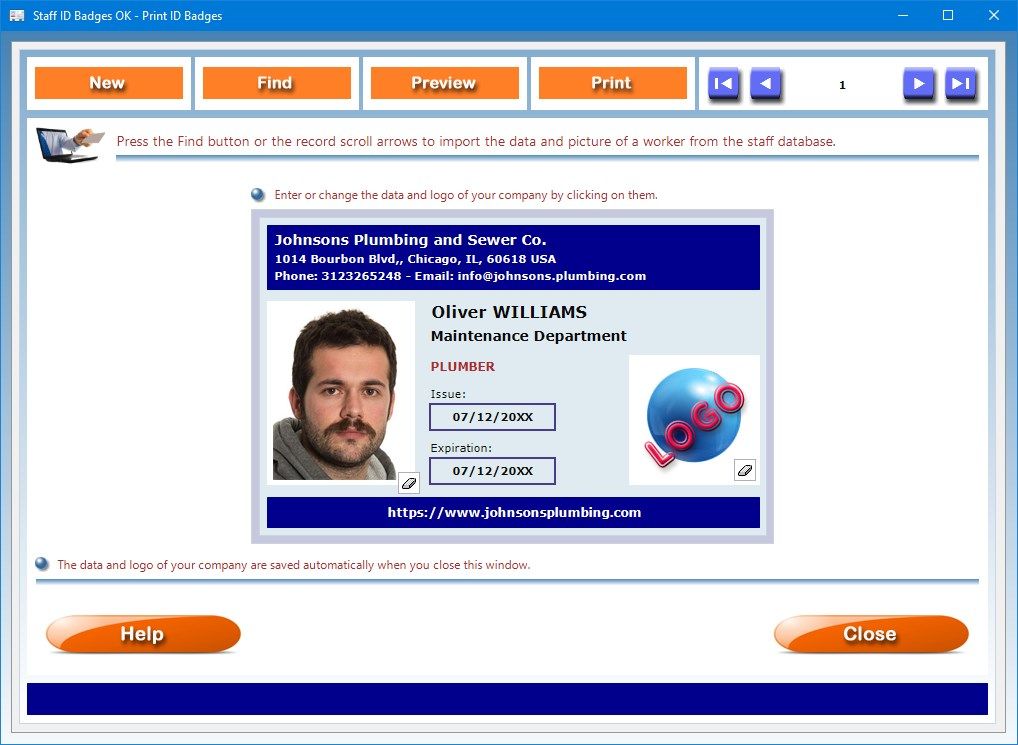
The Print ID Badges app is used both for printing identification badges and for inserting the data and logo of the company, organization or association that must appear on the ID badges themselves.
To import the photo and data of a worker into the preview of the ID badge, you can use the record scroll arrows or search the staff database using the Find button. To insert or change your company’s logo and data, just click on them and follow the instructions that appear. The logo and data are automatically saved when you close the window.
Each ID badge contains the company’s logo and data as well as the employee’s name, his photo, the department in which he or she works, the job position held, the date of issue and the expiration date of the ID badge. As already mentioned, the information relating to the company or association is automatically saved when you exit the window, so that you will not have to re-enter it when printing a new ID badge.
To facilitate the ID badge printing, the software allows you to set the top and left print margins appropriately if the starting values do not coincide with those required by your printer. You can print the ID badge not only on a plastic card in the format of a credit card (if you have a suitable printer) but also on any sheet of paper. If you have a printer that prints on plastic cards, make sure it supports portrait printing orientation. The Preview button allows you to preview the ID badge before printing it. If you are satisfied with the preview and have set the print margins properly, you can print the ID badge by pressing the Print button.
The worker’s photo that appears on the ID badge is the one that was saved in Jpeg or Bitmap format in the record of the staff database. To optimize printing, you should make sure that the aspect ratio (but not necessarily the size) of the photo matches the image box visible in the preview. This means that you should capture and save photos in portrait rather than landscape orientation, similar to passport photos. During printing, the software adapts the size of the photo to the image box in passport format while maintaining its proportions.
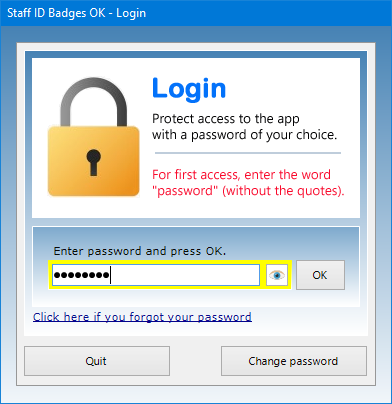
Access to the software is protected by a user-customizable password that can be changed as often as desired. For the first access to the software, you must use the keyword “password” (written without the quotation marks). If you forget your password, send an e-mail to the author of the software at [email protected] using the sentence “Forgot login password for Staff ID Badges OK” as a subject line. In response to your e-mail, you will receive instructions to reset your password.
In conclusion, Staff ID Badges OK is the ideal app for any company or association looking for a quick tool for printing ID badges with digital photos and for managing the data of its staff members and the services they provide. The user will be pleasantly surprised to see how the software requires practically no learning time.
-
Software to store personal and work data of your employees, keep track of the services they supply and print out ID badges for all of them